Designing a digital clock requires a blend of functional engineering, electronics expertise, and aesthetic design to create a clock that is accurate, user-friendly, and visually appealing. Here are the key steps involved in designing a digital clock:
1. Define Key Features and Functions
- Purpose: Decide if the clock is for home, office, travel, or industrial use, as this will guide the design, size, and features.
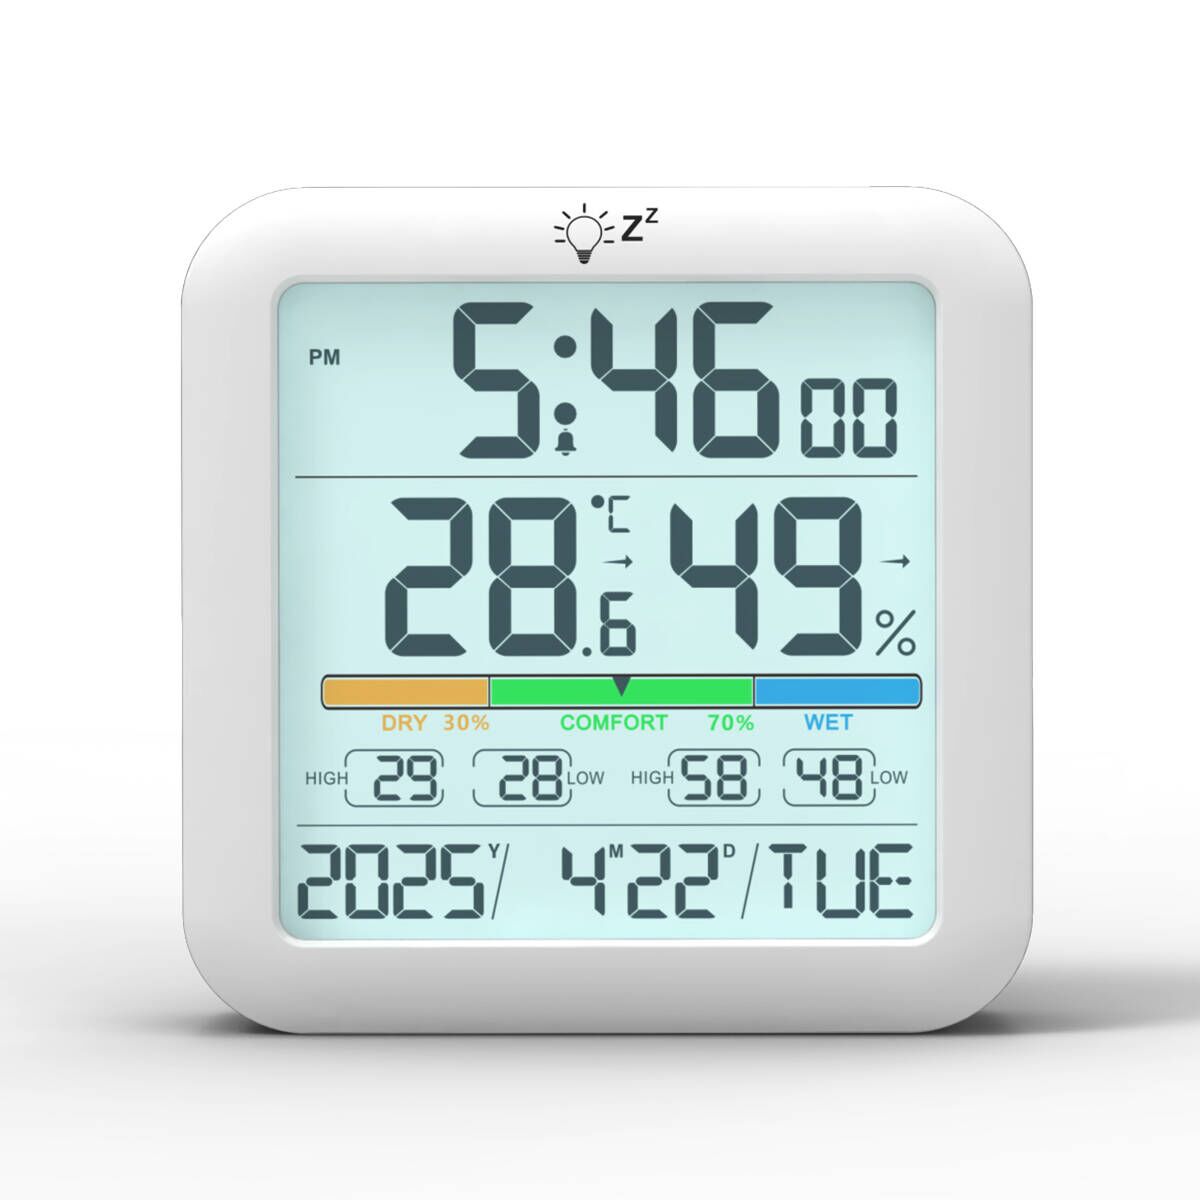
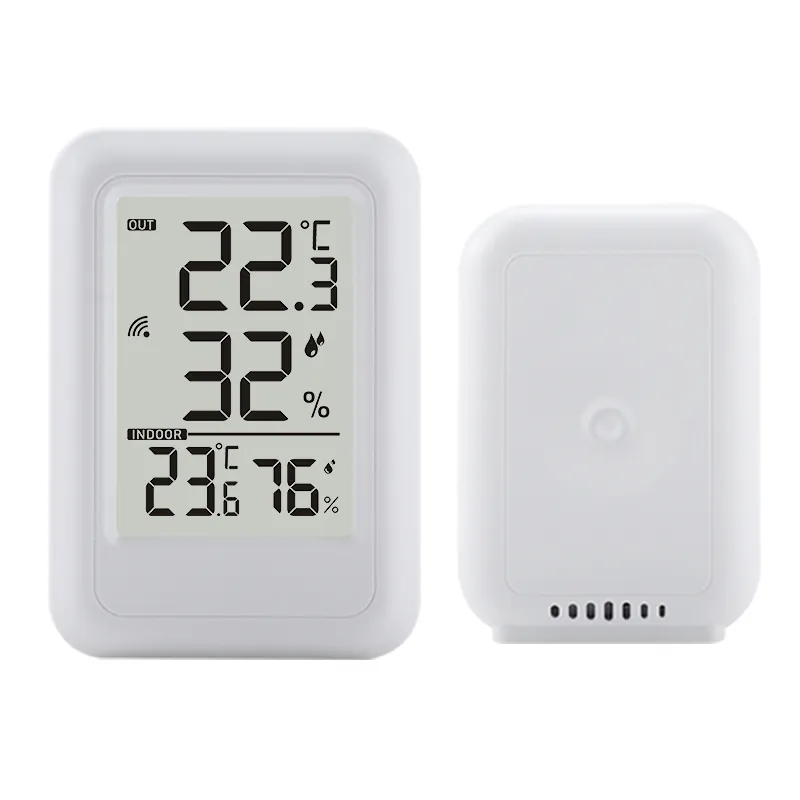
- Core Functions: Determine the basic features, like time display, alarm settings, or additional functions (e.g., temperature display, countdown timer, calendar).
- Additional Features: Depending on the clock’s purpose, consider adding features like backlighting, snooze, projection, or smart connectivity (e.g., Bluetooth, Wi-Fi).
2. Select Display Type
- LED Display: Offers bright, clear visibility, especially in low-light settings. Ideal for indoor and bedside clocks.
- LCD Display: Consumes less power, making it suitable for battery-operated clocks. Great for travel or portable clocks.
- OLED Display: Thin, with deep contrast, OLED displays are becoming popular for high-end, sleek designs.
- E-Paper Display: Mimics printed text, consuming very little power and making it ideal for minimalistic, battery-powered designs.
3. Choose the Microcontroller or Chipset
- Clock IC: Choose a real-time clock (RTC) chip for high-accuracy timekeeping, essential for digital clocks.
- Microcontroller: If the clock has more complex functions like alarms, weather data, or connectivity, a microcontroller with sufficient memory and processing power is required (e.g., ESP32 for Wi-Fi-enabled clocks).
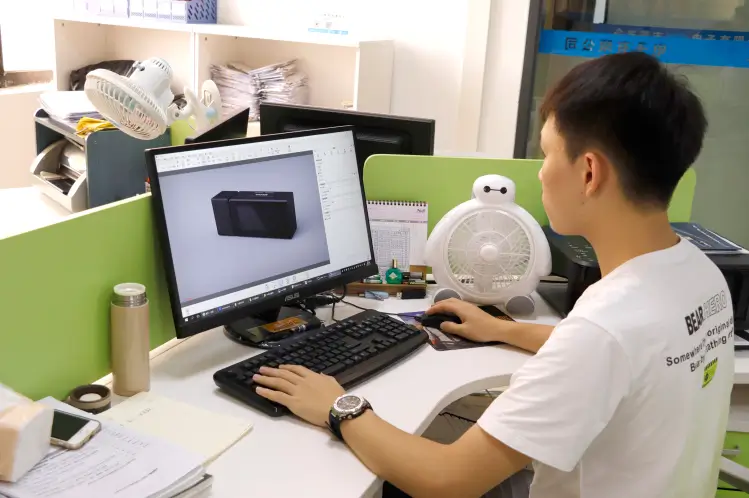
4. Design the PCB (Printed Circuit Board)
- Circuit Layout: The PCB design is crucial, as it connects the microcontroller, display, power source, and other components. Use PCB design software to layout the components and pathways.
- Component Placement: Place components in a way that minimizes interference and heat generation. Position the microcontroller and RTC chip close to the power source and display connections.
- Consider Battery Backup: For clocks that need to keep time during power outages, design space for a backup battery or capacitor.
5. Power Supply and Power Management
- Power Source: Decide between a rechargeable battery, AA/AAA batteries, or an AC adapter. Battery power is more convenient for portable clocks, while AC is better for stationary, power-intensive clocks.
- Power-Saving Features: For battery-operated clocks, consider power-saving functions like auto-dimming, standby mode, or timed backlighting.
6. Design the User Interface
- Button Layout: Ensure buttons are accessible and intuitive for setting time and alarms. Many clocks include an up/down interface with a dedicated “set” button.
- Touch Interface: For modern designs, consider capacitive touch controls for a sleek, button-free look.
- App Connectivity: For smart clocks, design a user-friendly app interface allowing users to control the clock settings remotely.
7. Design the Outer Casing and Aesthetics
- Material Selection: Choose materials based on durability and style. Options include plastic, metal, wood, or glass, depending on the intended look and market.
- Form Factor: Decide if the clock will be wall-mounted, desk-mounted, or portable. This affects size, shape, and weight.
- Aesthetic Features: Consider the overall color scheme, finish (matte, gloss, brushed), and style (modern, retro, minimalist).
8. Programming the Software/Firmware
- RTC Programming: The microcontroller software should read the RTC chip and keep accurate time, adjusting for user settings like alarms, snooze, and calendar.
- Additional Functionality: Program additional features like brightness adjustment, temperature display, or smart home integration if applicable.
- User Feedback and Testing: Conduct user tests to ensure the interface is intuitive, and adjust programming for any identified improvements.
9. Prototyping and Testing
- Build a Prototype: Create a functional prototype with a 3D-printed or CNC-machined casing, fully assembled PCB, and integrated display and power system.
- Functional Testing: Test each feature (timekeeping, alarms, display clarity, power usage) to ensure they work reliably.
- Environmental Testing: For clocks meant to withstand certain environmental conditions, test them under varying temperatures, humidity, and lighting.
10. Refinement and Final Adjustments
- User Experience Feedback: Gather feedback on the prototype’s look, feel, and usability.
- Design Adjustments: Make necessary adjustments to improve the user experience, durability, and reliability.
- Quality Control: Ensure that the final design is consistent and meets all design, performance, and safety standards.
11. Manufacturing and Packaging Design
- Manufacturing Plan: Prepare the design files and materials for mass production. This includes finalizing the PCB design, sourcing components, and setting up the production line.
- Packaging: Design the packaging to protect the clock during transport, and make it visually appealing for retail sales.
By following these steps, you can create a digital clock that balances functionality, aesthetics, and ease of use, making it appealing and practical for its target audience.