Dijital bir saat tasarlamak, fonksiyonel mühendislik karışımını gerektirir, elektronik uzmanlığı, ve doğru olan bir saat oluşturmak için estetik tasarım, Kullanıcı dostu, and visually appealing. Here are the key steps involved in designing a digital clock:
1. Define Key Features and Functions
- Purpose: Decide if the clock is for home, office, travel, or industrial use, as this will guide the design, size, and features.
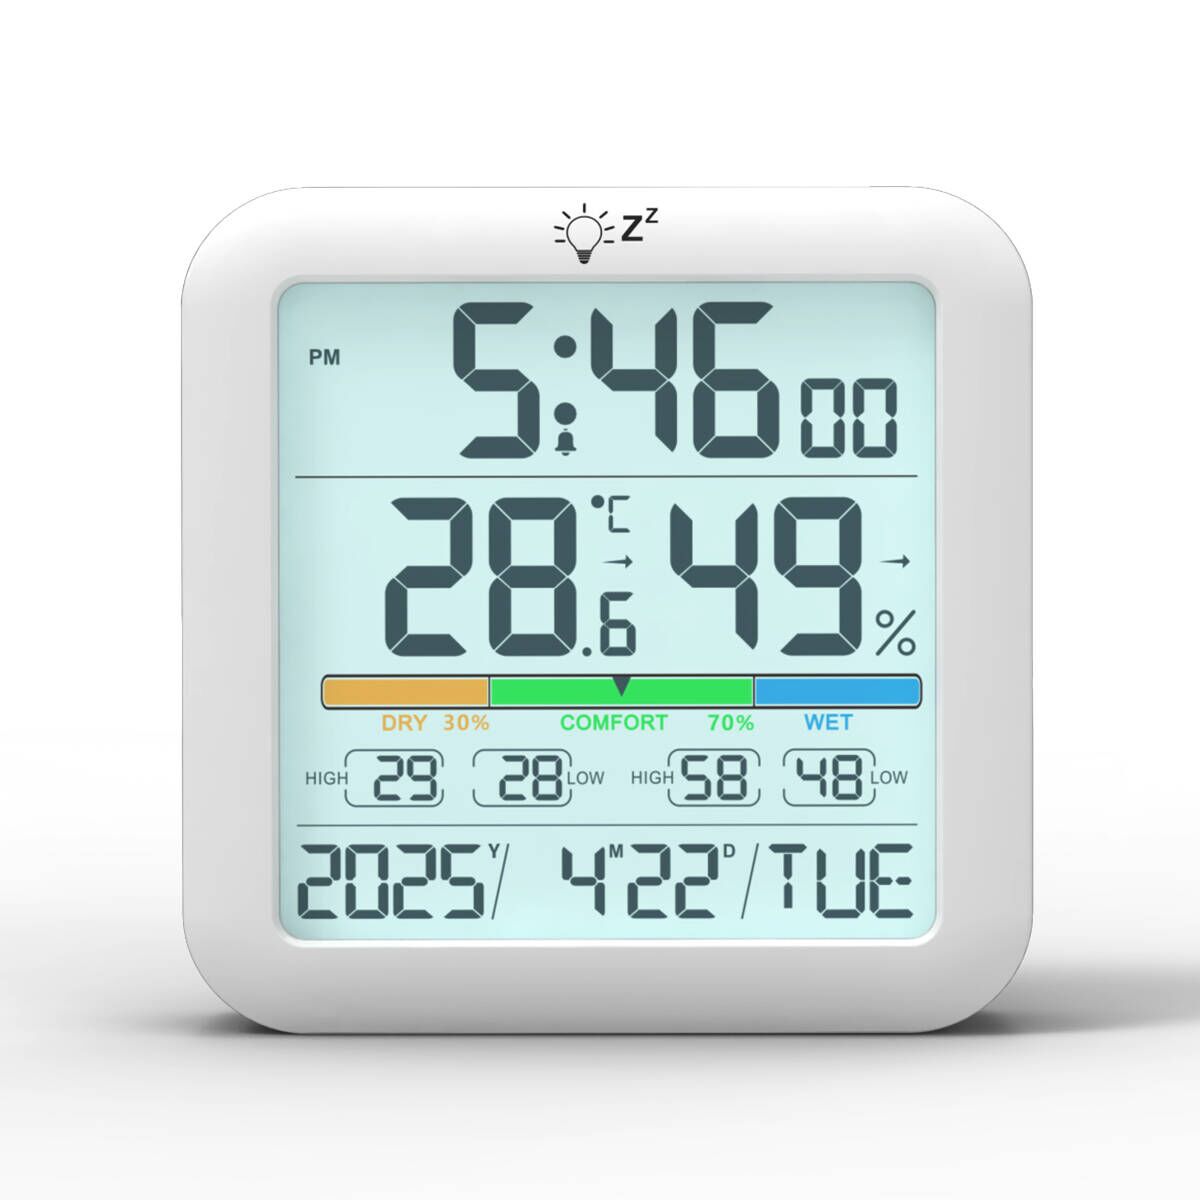
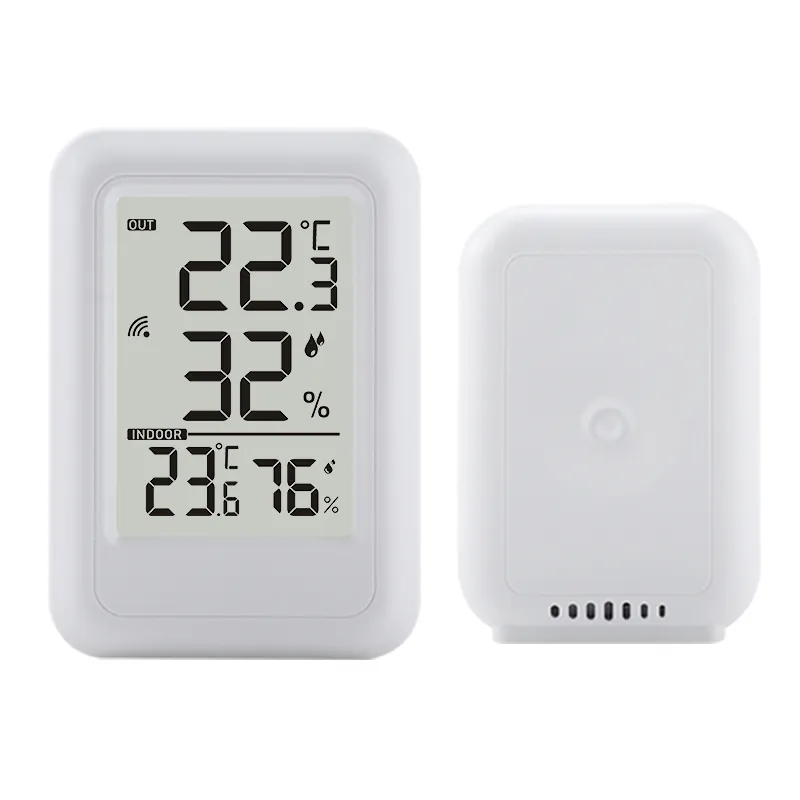
- Core Functions: Determine the basic features, like time display, alarm settings, or additional functions (e.g., temperature display, countdown timer, calendar).
- Additional Features: Depending on the clock’s purpose, consider adding features like backlighting, snooze, projeksiyon, or smart connectivity (e.g., Bluetooth, Wi-Fi).
2. Select Display Type
- LED Display: Offers bright, clear visibility, especially in low-light settings. Ideal for indoor and bedside clocks.
- LCD Display: Consumes less power, making it suitable for battery-operated clocks. Great for travel or portable clocks.
- OLED Display: Thin, with deep contrast, OLED displays are becoming popular for high-end, sleek designs.
- E-Paper Display: Mimics printed text, consuming very little power and making it ideal for minimalistic, battery-powered designs.
3. Choose the Microcontroller or Chipset
- Clock IC: Choose a real-time clock (RTC) chip for high-accuracy timekeeping, essential for digital clocks.
- Microcontroller: If the clock has more complex functions like alarms, weather data, or connectivity, a microcontroller with sufficient memory and processing power is required (e.g., ESP32 for Wi-Fi-enabled clocks).
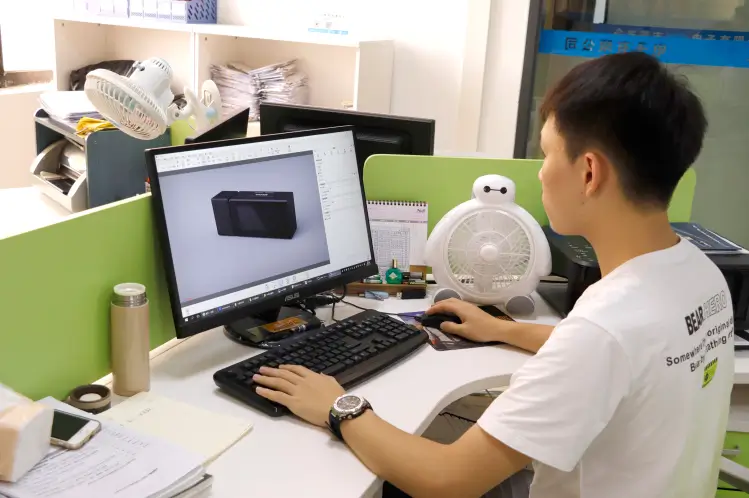
4. Design the PCB (Printed Circuit Board)
- Circuit Layout: The PCB design is crucial, as it connects the microcontroller, display, power source, and other components. Use PCB design software to layout the components and pathways.
- Component Placement: Place components in a way that minimizes interference and heat generation. Position the microcontroller and RTC chip close to the power source and display connections.
- Consider Battery Backup: For clocks that need to keep time during power outages, design space for a backup battery or capacitor.
5. Power Supply and Power Management
- Power Source: Decide between a rechargeable battery, AA/AAA batteries, or an AC adapter. Battery power is more convenient for portable clocks, while AC is better for stationary, power-intensive clocks.
- Power-Saving Features: For battery-operated clocks, consider power-saving functions like auto-dimming, standby mode, or timed backlighting.
6. Design the User Interface
- Button Layout: Ensure buttons are accessible and intuitive for setting time and alarms. Many clocks include an up/down interface with a dedicated “set” button.
- Touch Interface: For modern designs, consider capacitive touch controls for a sleek, button-free look.
- App Connectivity: For smart clocks, design a user-friendly app interface allowing users to control the clock settings remotely.
7. Design the Outer Casing and Aesthetics
- Material Selection: Choose materials based on durability and style. Options include plastic, metal, wood, or glass, depending on the intended look and market.
- Form Factor: Decide if the clock will be wall-mounted, desk-mounted, or portable. This affects size, shape, and weight.
- Aesthetic Features: Consider the overall color scheme, finish (matte, gloss, brushed), and style (modern, retro, minimalist).
8. Programming the Software/Firmware
- RTC Programming: The microcontroller software should read the RTC chip and keep accurate time, adjusting for user settings like alarms, snooze, and calendar.
- Additional Functionality: Program additional features like brightness adjustment, temperature display, or smart home integration if applicable.
- User Feedback and Testing: Conduct user tests to ensure the interface is intuitive, and adjust programming for any identified improvements.
9. Prototyping and Testing
- Build a Prototype: Create a functional prototype with a 3D-printed or CNC-machined casing, fully assembled PCB, and integrated display and power system.
- Functional Testing: Test each feature (timekeeping, alarms, display clarity, power usage) to ensure they work reliably.
- Environmental Testing: For clocks meant to withstand certain environmental conditions, test them under varying temperatures, humidity, and lighting.
10. Refinement and Final Adjustments
- User Experience Feedback: Gather feedback on the prototype’s look, feel, and usability.
- Design Adjustments: Make necessary adjustments to improve the user experience, durability, and reliability.
- Quality Control: Ensure that the final design is consistent and meets all design, performance, and safety standards.
11. Manufacturing and Packaging Design
- Manufacturing Plan: Prepare the design files and materials for mass production. This includes finalizing the PCB design, sourcing components, and setting up the production line.
- Packaging: Design the packaging to protect the clock during transport, and make it visually appealing for retail sales.
By following these steps, you can create a digital clock that balances functionality, aesthetics, and ease of use, making it appealing and practical for its target audience.